


Tips To Help You Improve Your Travel Photography

A picture paints a thousand words and when it comes to illustrating my tales of travel and adventure, there’s nothing better than a set of sharp, inspiring images that capture the essence of a destination.
As an avid traveler and travel blogger, photography is a key part of my trips and the content I share. However, taking Instagram-worthy travel photos isn’t always that easy—there’s more to it that just a simple snap of the shutter.
Fortunately, a few minor adjustments to the point-and-shoot style can drastically improve your travel photography. These top tips will help you on your way to Instagram greatness.
Scout Out Locations on Instagram
As soon as I book a flight, the first thing I do is head over to Instagram and use the hashtag search option to find images of the “must-see” sights in the region. This not only helps with my appetite for the trip, but also helps me understand what kind of shot works well in those locales.
For example, by looking at the most popular images for #eiffeltower, I can see a range of photographs from different views points and using different width lenses. I can then make a basic shot list and itinerary for when I’m on the ground in Paris.
Condense Your Equipment and Consider Logistics
For many people, investing in travel photography means investing in a new camera and kit of expensive accessories. My advice? Don’t do that! Resolve instead to optimize whatever camera equipment you have and challenge yourself to make improvements before upgrading your set up.
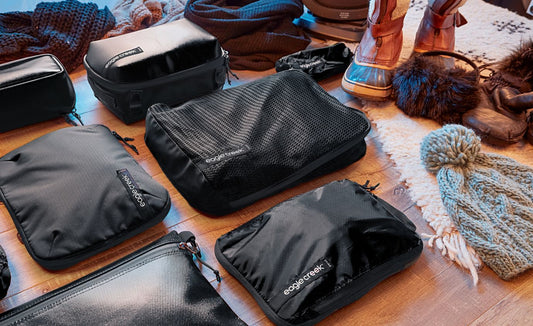
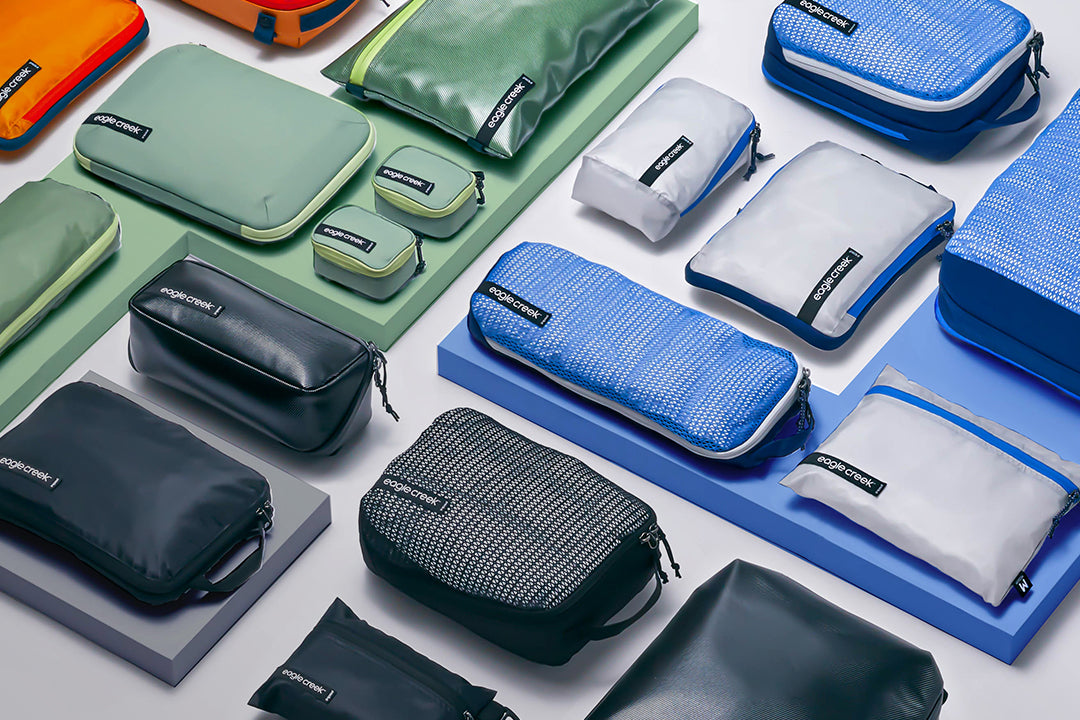
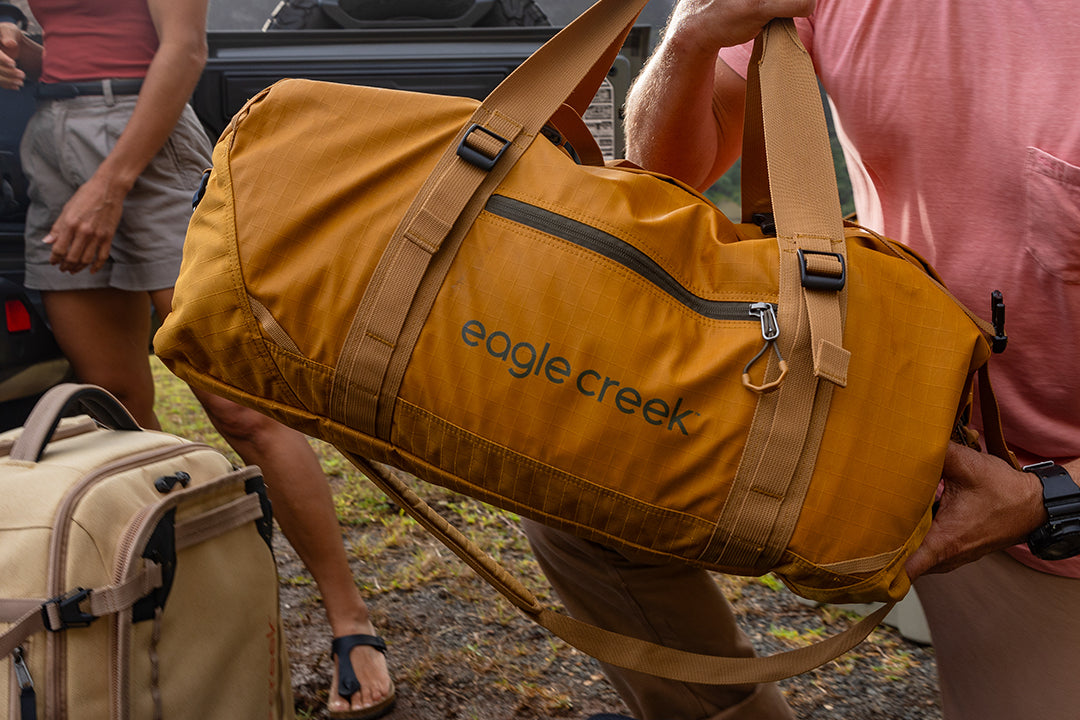
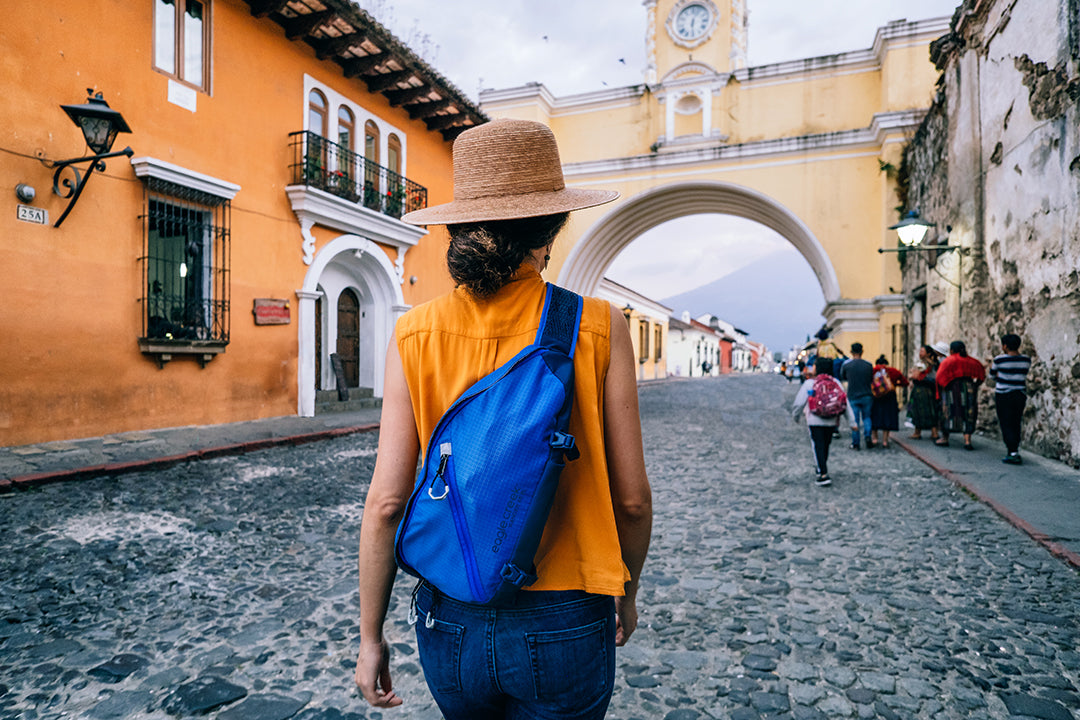
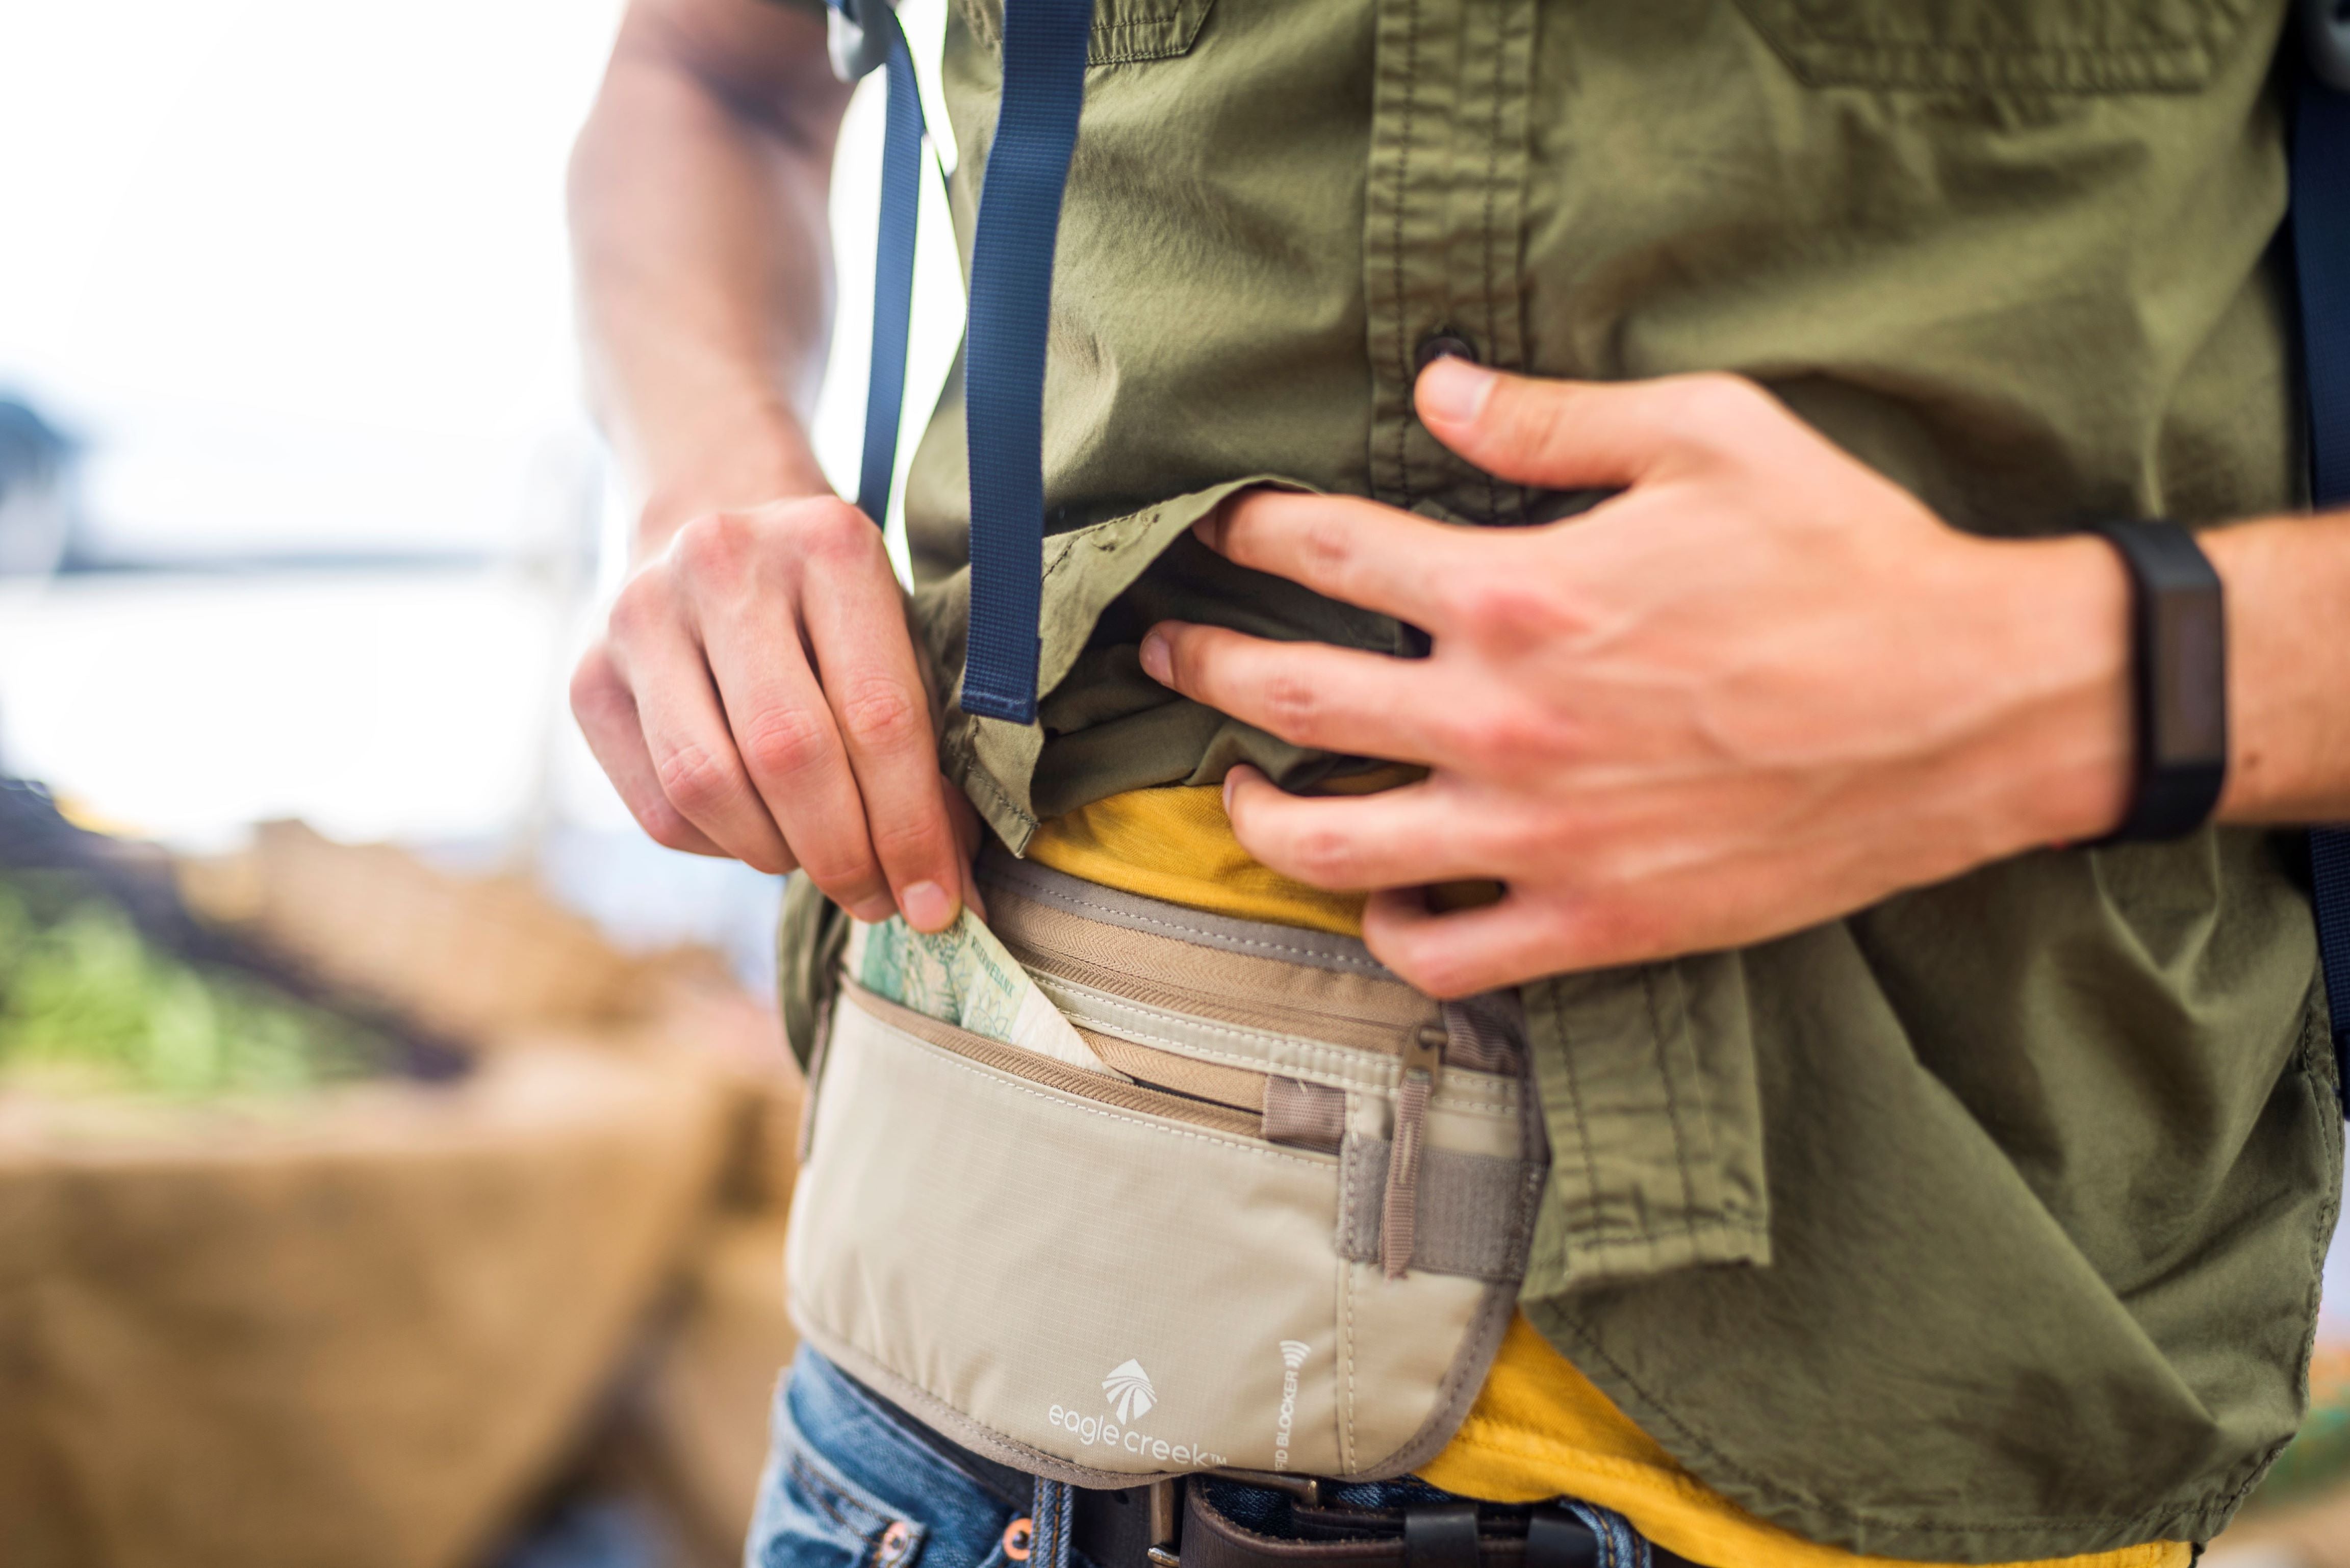
If you do have a lot of equipment, carefully decide what you take with you. Consider what type of images you will likely be taking and select your kit accordingly. I find that by packing my kit in an organized daypack and keeping it separate from my luggage, I can get it out quickly if needed—and also avoid checking it when in transit. Also, take into account your destination’s climate when packing up your equipment. I travel with my lenses in a set of packing cubes made from a water-resistant fabric just in case I catch some bad weather while I’m out and about.
Pro Tip: Choose a versatile utility pack with easy access to multiple compartments. Having the opportunity to quickly retrieve your camera and change lenses on the fly can be the key to capturing those iconic travel images.
Set up Before the Crowds Arrive
Too many people in the foreground can distract from the intended focal point of an image, and although it would provide a true-to-life-experience of the destination, it won’t make an appealing photograph for your gallery. If you have found a shot that you really want to capture, or you have an idea for an image that you feel would work well, get to the location before the crowds so you can maximize your time there to get what you need.
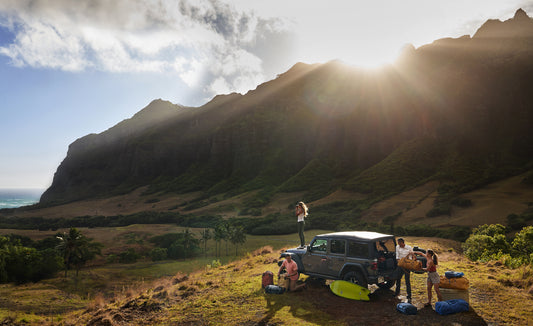
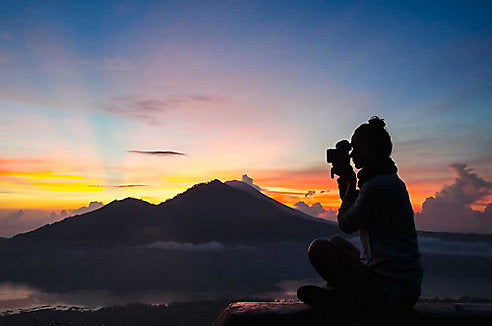
If you’re looking for epic landscape photography you will likely need to hike out and camp at rural locations. If this is the case be sure to consider weather and terrain conditions, and choose a durable, weatherproof backpack to carry your kit and camping gear.
Talk to Locals
For the best advice on where to find scenic spots talk to locals. It’s likely they have their own favorite hiking trails and viewpoints that are hidden from the well-trodden tourist trail. Sure, it’s good to get “that iconic shot” of the place you’re visiting, but if you’re looking to stand out from the crowd an amazing photo of a destination unknown will be met with much intrigue.
Learn How to Frame Your Shot
When setting up to take a shot consider the answers to the following questions:
What is the focal point of your image?
What are you trying to portray?
Where will you publish this shot?
The answers to those three questions will help to define the way in which you frame your photograph.
Defining the focal point of your image gives you a clear creative direction. There are a number of rules you can apply when framing an image, but the two I use most often are the “Rule of Thirds” and the “Lay Line Approach.”
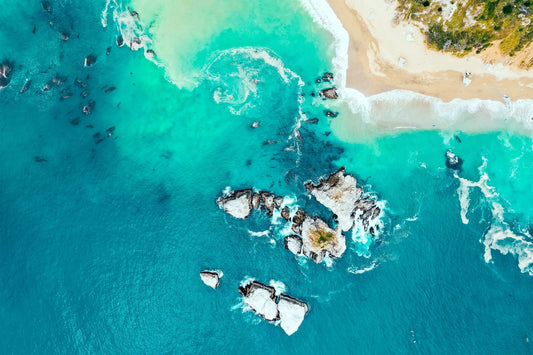
The rule of thirds means exactly what it says: Consider how you can split the view in front of you into three proportionate sections. For example, if you were taking a shot of a beachscape, you could line up the beach, the sea, and the sky so that they take up equal amounts of the shot.
The lay line approach provides the opportunity to clearly define a focal point. For example, if there are lines such as the roofs of buildings, branches of a tree, or concrete steps that lead the eye toward your subject, you can utilize these to steer the viewer’s eye around the image.
When considering what you are trying to portray with your image, imagine you’re putting together a photo essay and ask yourself, “what story am I telling with this photo?” A good photo has a strong narrative that is visible to those who view it.
Your final consideration should be how and where you will publish the image. For images going to a print magazine, onto Instagram, or into a blog post, consider what format (landscape or portrait) will best suit the platform. For example, landscape images work well in blog posts. If it’s just for your own personal collection you can choose to shoot it however you like.
Familiarize Yourself with the Technical Aspects of Photography
If you’re considering photography as a career choice or just want to hone your skill, take some time to learn how to adjust the settings on your camera and shoot in manual mode. The automatic setting is fine if you’re just messing around, but if you want to have complete control over your images you really need to be able to adjust the ISO, shutter speed, and aperture settings at will.
Take Multiple Shots of The Same Photo
Once you’ve invested time and energy into researching your location and setting up your camera, the best thing to do is to take multiple shots of the same image, just in case you think you’ve got the perfect shot and then discover a focus or exposure issue during post processing. As a rule, I take multiple shots of the same scene and also change things like the orientation of the camera and focal point of the image just to be sure I get the photograph I want.
Dedicate Time to Post Processing
An important element of digital photography is post-processing and with so many software options available it is easy to elevate your shots with the help of a few tweaks here and there.
Professional photographers often choose to use Adobe Lightroom to change exposure and color settings, however there are a number of smartphone apps that are ideal for those just starting out.
If you’re new to digital photography my advice is to choose one image and play around with the various settings in the software you’re using. You’ll soon learn the suite of options and develop your own preferences which lend themselves to your style of photography.
To see these tips in action—and to follow along with our adventures—follow Eagle Creek on Instagram!
Related Links (from Eagle Creek blog):
Must See Spots in Banff National Park